

In this tutorial you will learn how to enable the very useful AutoDJ feature included with Centova Cast. With this enabled you can run your radio station all day, every day without the worry of keeping your source connected or being disconnected when you are not available.
Table of Contents
Requirements
- A Shoutcast Server – This is where your listeners will connect to and listen in.
- Admin login to Centova Cast – We will upload the files using the file manager.
- Music that you want to broadcast automatically – you can use anything.
Before you begin
For this tutorial, you will need a Shoutcast server. You can order a Shoutcast server from Tidyhosts. Visit our other tutorial if you would like to Create a Shoutcast Radio Station.
Overview Of The Requirements
Let’s have a deeper look at the requirements. Having your own music station is exciting, opens up opportunities for business services and helps promotes your brand to the world.
Shoutcast Server
This is simply the main prerequisite; you can of course read through this article as reference for a later time.
Assuming you have a server, then this is step is complete.
Admin login to Centova Cast
As the requirement suggests, you will need admin access to Centova Cast. If you are a DJ of a station, then we suggest you contact the server owner to obtain the credentials.
Music that you want to broadcast automatically
We suggest getting a lengthy list of songs if you want to run the AuoDJ for long periods of time, your listeners will soon get bored of 10 songs on repeat. You want the stream to appear as if there is a DJ running the show behind the scenes.
The music and the quality you stream is very important, you want your listeners to return and spread the word of your fantastic radio station.
Step 1: Enable AutoDJ
Let’s login and enable the AutoDJ setting.
For the purpose of this tutorial, we will assume you have ordered a Shoutcast server from Tidyhosts and you have access to the server.
Login to the Centova Cast control panel using the URL we sent you in the welcome email.
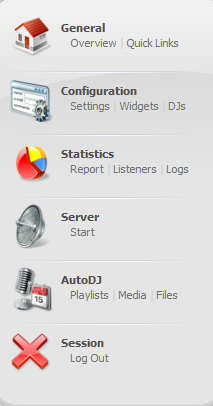
Once you have logged in, stop the server from the link on the left-hand side.
Next click settings and select the AutoDJ tab on the right-hand side
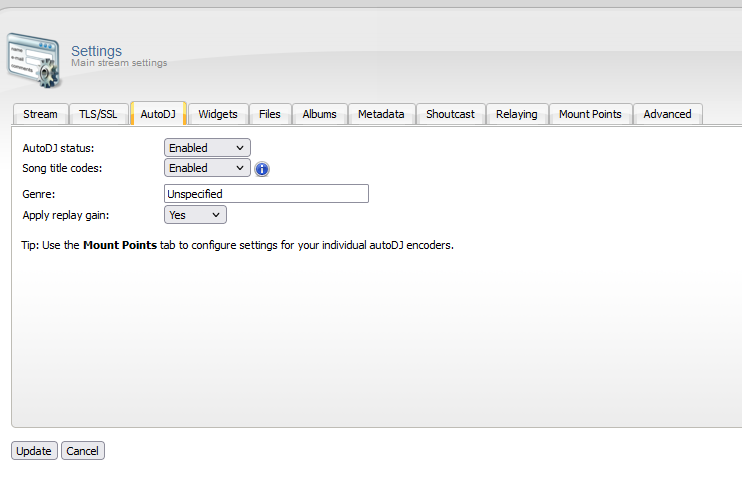
Now change the AutoDJ status to Enabled, please note this may already be set to enabled.
Now click update at the bottom of the page, this will now produce more options under the AutoDJ section on the left-hand side.
Step 2: Upload Files Streaming
Now we will upload some files and create a playlist.
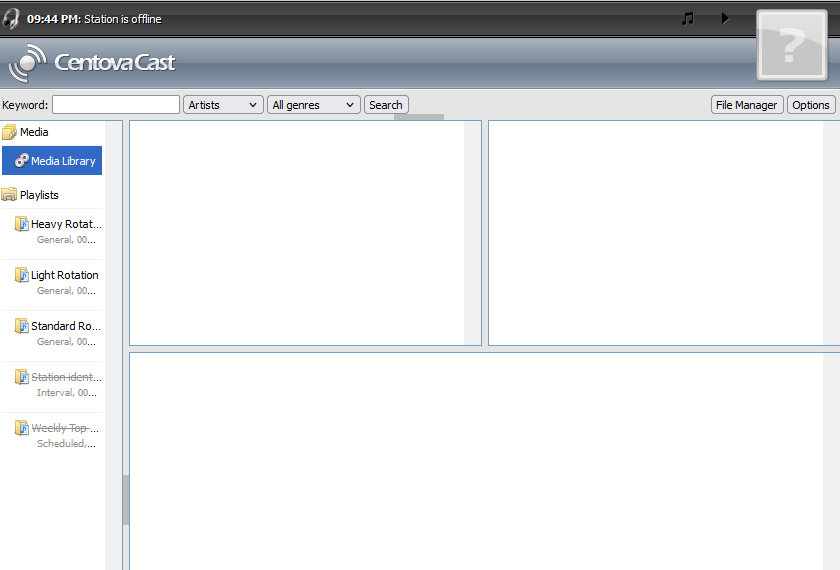
Click on the Media link which will open up the Media library, as you can see it is empty.
Now open up the file manager by clicking on the File Manager link on the right-hand side.
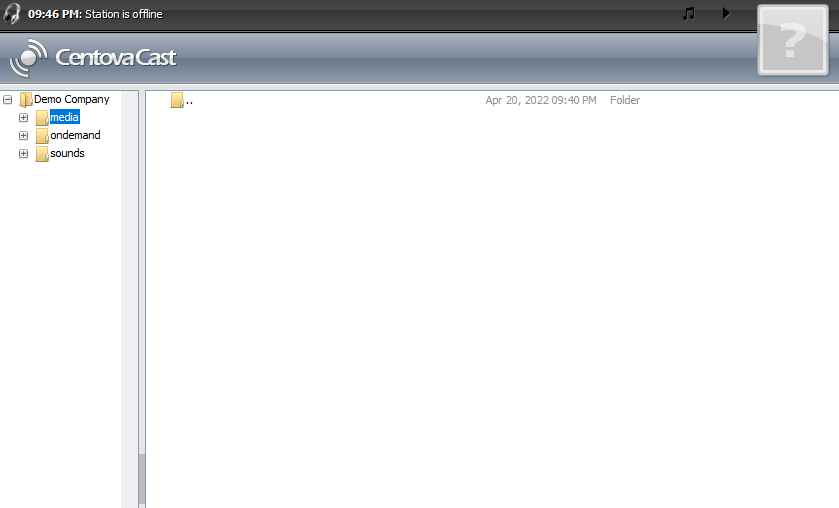
This is where we will upload some files which we will then add to a playlist. With the media folder highlighted, click the upload button at the bottom of the screen

Choose the select files button, which will allow you to browse for files on your computer. For the purpose of this tutorial, we will use 3 files. Once the files are chosen, they will automatically join the queue for transfer.
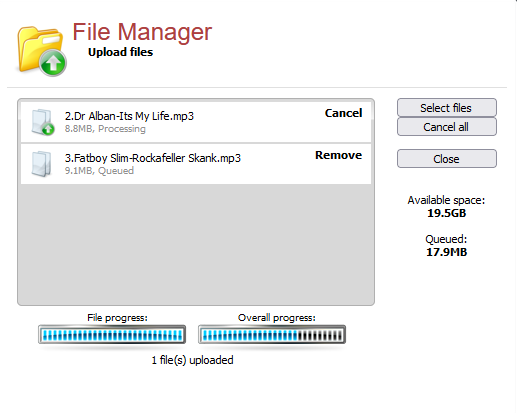
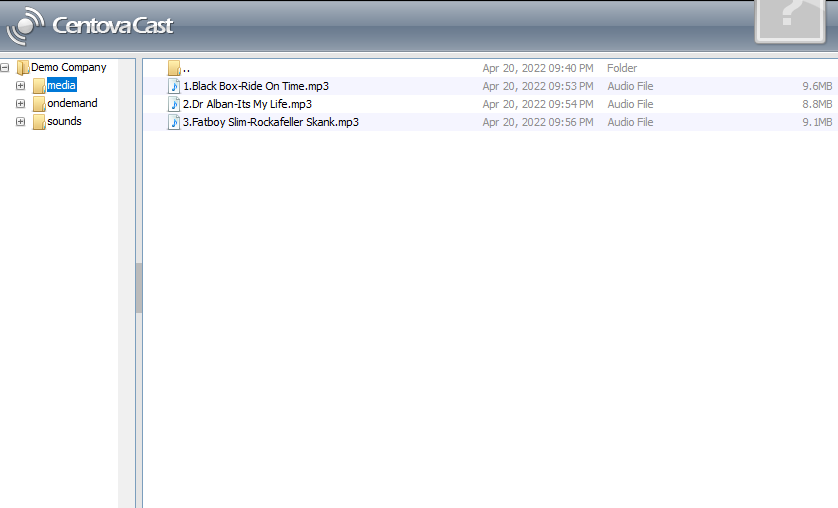
Once the files are uploaded, click the close button and you should see your files in the media folder.
Step 3: Add The Files To A Playlist
Now that we have some files, we can add them to a playlist. Centova has some default playlists created for you which you can use for starting out.
Click the return button at the bottom of the screen, this will take you back to the main server options page.
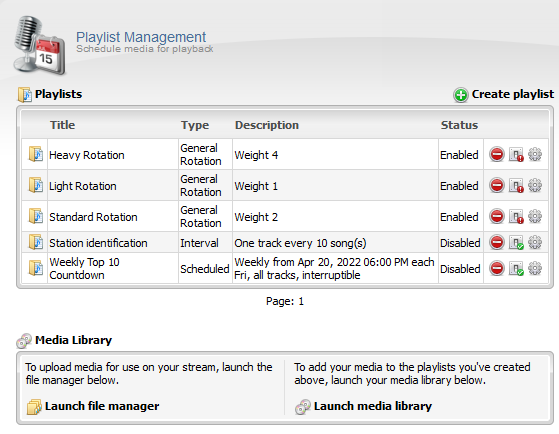
Now choose Playlists on the left-hand side
As you can see, there are a few playlists already defined. For this tutorial we will use the Standard Rotation playlist.
As you become more used to the playlists, you can add an advert into the Station identification playlist. By default, it is disabled. When enabled it will play the files after every 10 songs.
Now click the Launch media library link
In the Media Library file list, simply drag your files on the right over to the Standard Rotation playlist on the left.
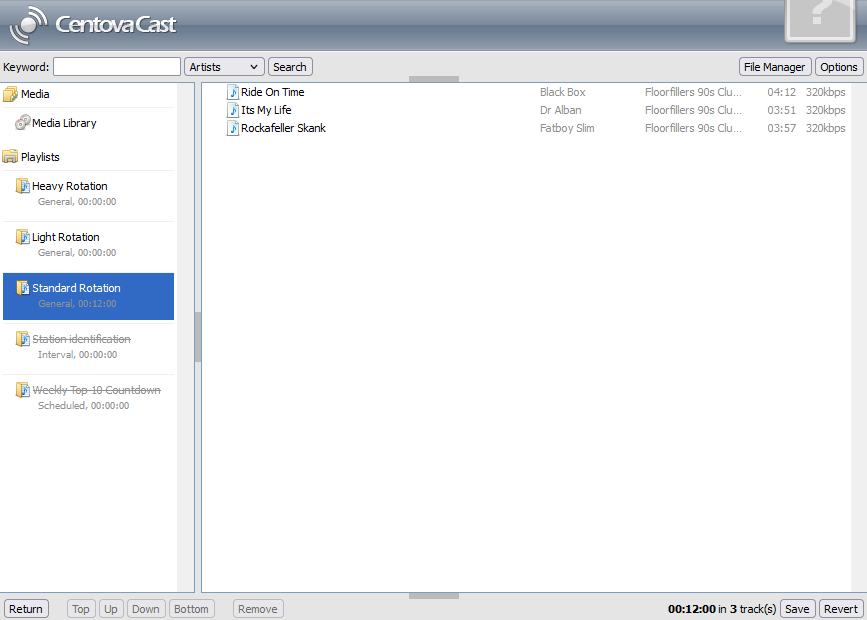
That’s it, we now have the playlist created and our AutoDJ is ready to begin streaming on your behalf.
Now head back to the main menu by clicking the Return link at the bottom.
On the left, click Start under the Server options. The playlist you have added the music to will be now going through the songs you added.
Step 4: Test Your Stream
We can test the stream by clicking on Quick Links under the General options
Now on the right-hand side, click the link under ‘Your stream start page’ and you will be presented with the HTML 5 player.
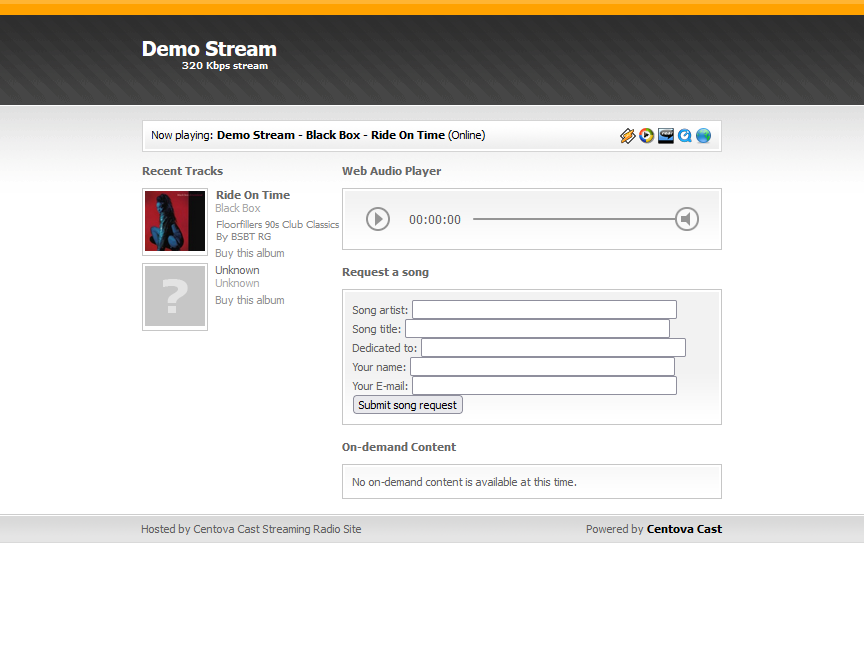
You can now see the tracks playing, by clicking the play button we can hear the playlist we have just created.
This guide was a simple demo on how to get the AutoDJ setup and running. There are plenty of things you can do to make the AutoDJ really make your station and brand stand out.
If you need any help, please contact our support team who will happily assist you.
You have now learned the process on setting up Centova Cast AutoDJ.