
In this tutorial you will learn how to reconfigure the network from SolusVM. When ordering a new VPS with additional IP addresses, or you need to make some changes to your existing VPS that is running under a KVM hypervisor, you will need to instruct SolusVM to reconfigure the network.
Table of Contents
Requirements
- You will need a VPS from Tidyhosts
- You will need the login details for SolusVM
Before you begin
The VPS will need to be rebooted once the scan process is complete, the process is automatic so please ensure you can schedule some downtime whilst the VPS is rebooted.
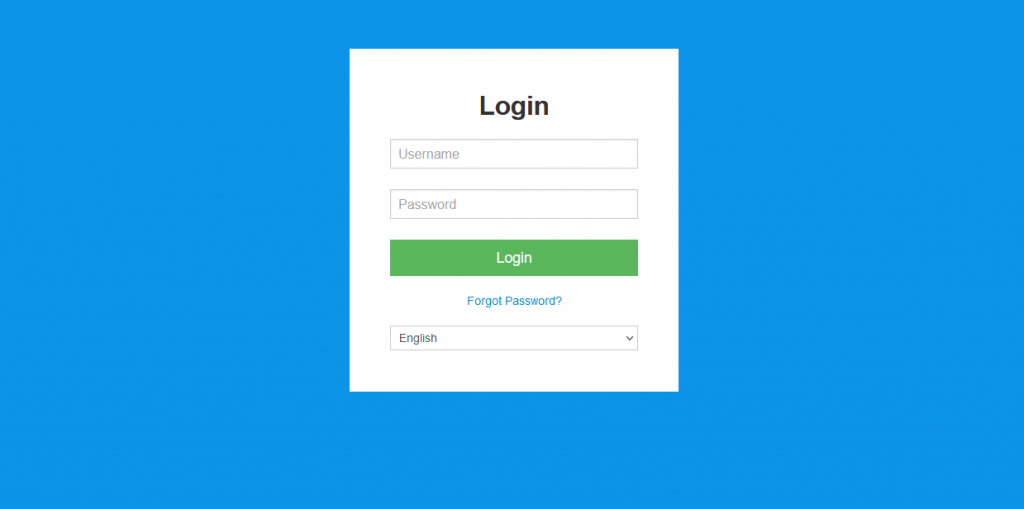
Step 1: Login To SolusVM
Visit the SolusVM Login URL and use your credentials to login. This information can be found in your welcome email.
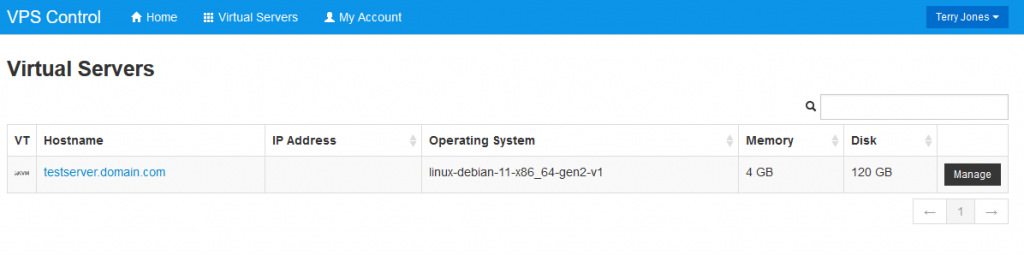
Step 2: Choose the VPS To Manage
Now choose the VPS you wish manage, be sure to choose the correct one. In the following example we have a test VPS created for this demonstration
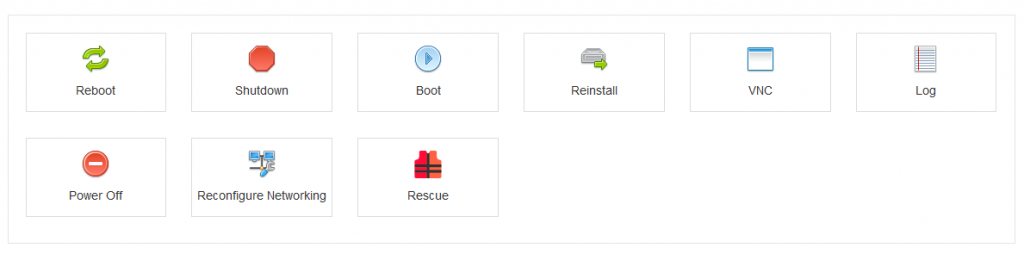
Step 3: Reconfigure Networking
Now you should be able to click the ‘Reconfigure Networking’ option.
Click ‘Yes’ to the next prompt. The process will rescan the VPS configuration and apply it to the VPS. Once completed, the VPS will reboot.
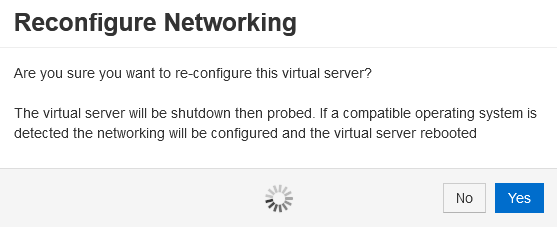
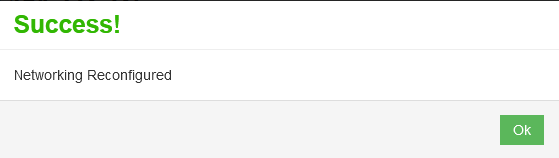
Once the process is complete, you should now see a Success message.
You have now learned how to successfully reconfigure the networking for your VPS within SolusVM. As always if you have any questions, please contact our support team.